Peanut Butter Cup Brownie Bites

If you love Reese's peanut butter cups and brownies, then you'll want to whip up a batch of these Peanut Butter Cup Brownie Bites straight away! A creamy peanut butter mixture is layered on top of the most delicious and chocolatey homemade brownies you'll ever try. As a finishing touch, the dessert is cut into little squares and dipped in chocolate which gives the bites a bit of crunch to go with the softness of the peanut butter and the brownies. This is the perfect finger food for parties or movie nights.
Notes
For more delicious recipes like this one, pick up a copy of Dorothy Kern's Dessert Mash-Ups today!
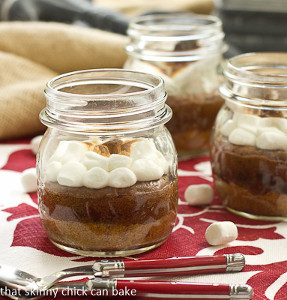
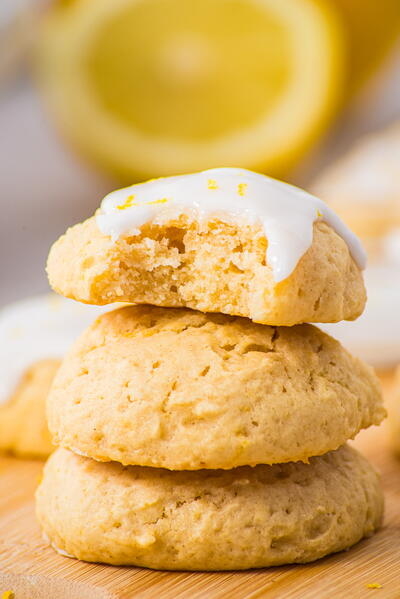
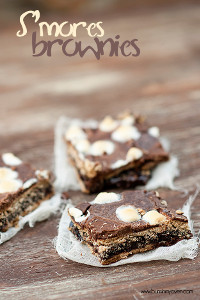
More Dessert Recipe Ideas for You
We absolutely love the idea of Peanut Butter Cup Brownie Bites and we're so glad you enjoy making them! If you're a fan of this sweet treat, we have a few dessert recipe recommendations that we think you'll enjoy.
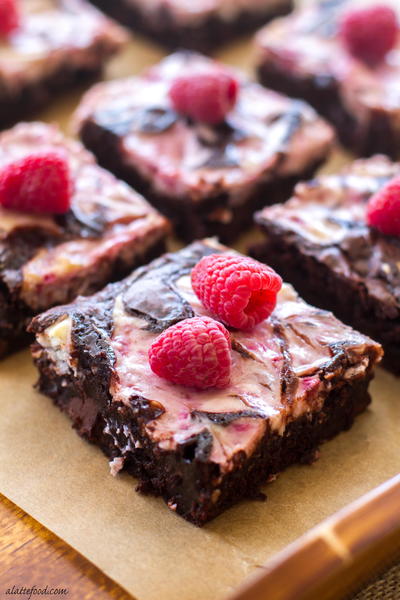
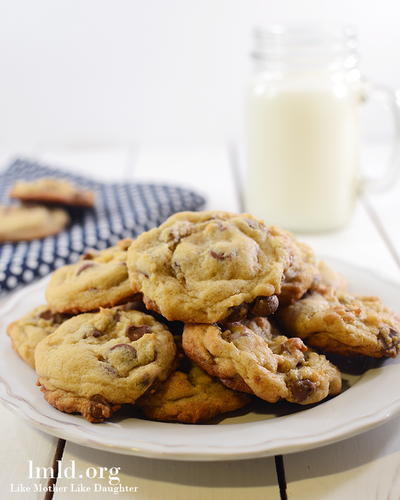
For those who love the combination of chocolate and peanut butter, we highly recommend trying out a Peanut Butter Chocolate Chip Cookie recipe. These cookies are easy to make and are always a hit with both kids and adults. The chewy texture of the cookies combined with the rich peanut butter and chocolate flavors is sure to satisfy any sweet tooth.
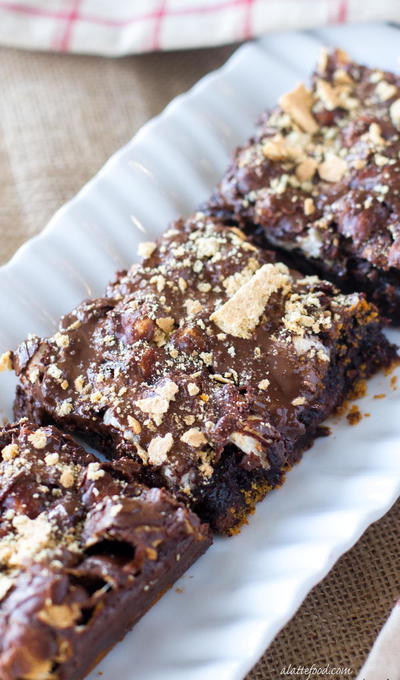
If you're looking for something a bit more decadent, we suggest making a Chocolate Peanut Butter Pie. This no-bake dessert is perfect for any occasion and is sure to impress your guests. The creamy peanut butter filling and rich chocolate ganache topping create a deliciously indulgent treat that is simply irresistible.
For those who enjoy a bit of a twist on classic desserts, we recommend trying out a Peanut Butter Cup Cheesecake recipe. This creamy cheesecake is packed with peanut butter flavor and is topped with a generous amount of crushed peanut butter cups. It's the perfect dessert to serve at a special occasion or to simply enjoy as a delicious treat.
We hope you enjoy trying out these dessert recipes and that they become new favorites in your baking repertoire. Happy baking!
Yields32 bites
Preparation Time1 hr
Chilling Time1 hr
Cooking Time25 min
Cooking Vessel Size9 x 9 Baking Dish
Ingredients
- For the Brownies
- 1/2 cup (1 stick) unsalted butter, melted
- 1 cup granulated sugar
- 2/3 cup unsweetened cocoa powder
- 2 large eggs
- 2 teaspoons vanilla extract
- 1 tablespoon brewed coffee (or water)
- 1/4 teaspoon salt
- 1/2 cup all-purpose flour
- For the Peanut Butter Mixture
- 1 cup creamy peanut butter
- 1/3 cup packed brown sugar
- 1 cup powdered sugar
- 1 teaspoon vanilla extract
- 16 to 24 ounces melting chocolate or semisweet baking chocolate
- Sprinkles (optional)
Instructions
-
Make the Brownies
-
Preheat the oven to 350 degrees F. Spray a 9 x 9-inch pan with cooking spray or line with foil and spray with cooking spray for easy cleanup.
-
In a large bowl, stir together the melted butter, sugar, and cocoa. Stir in the eggs, vanilla, coffee (the coffee just adds a richness to the brownies, but you can use water if you prefer), and salt. Carefully stir in the flour. Spread in the prepared pan.
-
Bake for 18 to 25 minutes, until a toothpick inserted about 2 inches from the edge of the pan comes out with only crumbs sticking to it. Let cool completely in pan before continuing. You can chill them to speed up this process.
-
Make the Peanut Butter Mixture
-
Combine the peanut butter, brown sugar, and powdered sugar in a large bowl. Mix with a hand mixer (or a stand mixer fitted with the paddle attachment) until crumbly. Add the vanilla, then continue to mix until the mixture is smooth and almost comes together. Press it together with your hands to form a smooth ball.
-
Place the peanut butter ball on a sheet of waxed paper. Press or roll it into a square thats about the size of your brownie pan. Place the peanut butter square on top of the brownies and press to adhere it. Press and adjust the edges so that it completely covers the brownies in the pan. Refrigerate for 30 minutes to 1 hour.
-
When youre ready to dip the brownies, melt half of the candy according to the package directions and line a cookie sheet with waxed paper. Remove the brownies from the pan and carefully discard the foil. Set the brownies on a cutting board and cut the square in half. Place one half back in the refrigerator until finished with the first half.
-
Cut the half sheet of brownies into 32 squares (4 rows by 8 columns). Dip each square carefully into the chocolate (see Candy Dipping Tips, page 30), tap off any excess, and place on the prepared cookie sheet. Repeat with the remaining brownies, melting additional chocolate as needed.
-
Refrigerate until set. If desired, place any remaining chocolate in a plastic baggie or small squirt bottle and drizzle chocolate on top of the truffles. You can also cover them with sprinkles or leave them plain. These can be kept at room temperature or in the refrigerator in an airtight container, or can be frozen. The truffles will keep for up to 5 days in the refrigerator.
-
Tip: Use white candy coating for a fun new twist!
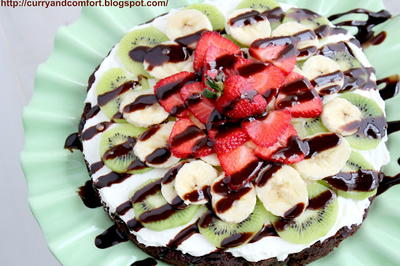
Read NextBrownie Fruit Pizza
Your Recently Viewed Recipes
Thanks for your comment. Don't forget to share!
SissieSass
Jul 31, 2018
Can I use whole wheat flour in this recipe, or does it have to be the white flour to turn out right? I know sometimes it is a texture thing and other times the flavor does not always turn out with the wheat flour, but I think in brownies, it might work well.
Report Inappropriate Comment
Are you sure you would like to report this comment? It will be flagged for our moderators to take action.
Thank you for taking the time to improve the content on our site.